Welcome back to the Grad School Survival Guide! Today’s topic is how to plan out a research year.
It probably won’t be as complete as some people would like, and it may go into details others don’t find helpful – the best way to figure these things out is to get advice from different people and see what works best for you.
So, here goes.
Where to Go
Get out the map
You’ve probably identified the archives you want to visit, at least initially, and have a short (or possibly long) laundry list of cities you want to travel to.
One of your first questions is likely to be whether or not you want to do one big trip, or several small trips.
This is, obviously, going to depend on the level of funding you have and other considerations, like whether you’re keeping the lease on an apartment in your home base, or you’re going to be functionally homeless for a few months while traveling–these are all important considerations to bear in mind.
You’ll also probably want to maximize travel efficiency: see what cities are close to each other and cross several archive collections off at once. People from other parts of the country are usually surprised by how short travel distances in the American northeast are, for example. If you’re going to a new country you often have no concept of relative distances, Google maps is pretty good about showing distance in terms of travel times rather than as-the-crow-flies distances.
In general, both in the United States and elsewhere, flying to larger, busier airports is less expensive than flying into small, regional airports that have only a handful of flights in a given day, and/or are only served by one airline. For example: Cheyenne, Wyoming is less than a two hour drive from Denver International Airport, while Wilmington, Delaware is functionally a suburb of Philadelphia. If you’re likely to need to rent a car while you’re in town anyway, save some money on the flight and see a new part of the country.
If you’re going to be traveling internationally, you’ll also need to check things like the passport and visa situation for where you want to travel to (for example: US citizens don’t need a visa to visit the UK or the European countries that share a common border known as the Schengen zone–but, you can only stay in either for up to 180 days in any 365 day period, so if you’re planning to stay longer, you’ll either need to rethink the length of your stay or figure out how to get a visa for a longer stay. Also, if you’re drawing funds from a local research institution or organization, that may change the requirements, so make sure to check well in advance).
Where to stay: I’ve probably contributed to gentrification using Air BnB a few times, but it worked out less expensive than staying in a hotel or using a rental flat service. I also like cooking for myself, and that factored heavily into the equation. You might want to poke around on message boards, listserves, or as the advice of people who’ve been there — each location has its own quirks to learn.
There are other fiddly bits to take care of. For example, I encouraged you in the last post to plan out the workflow you’ll use to get documents into a form you can use later when you’re writing. Depending on where you’re going, you might run into issues with electrical outlets being shaped differently, or having different voltage. The US, Japan, Saudi Arabia, and much of Latin America use 110 volts AC, while most of the rest of the world’s electric current is 220-240 volts AC. Most computers, cameras, and electronics can handle either these days, but do check before you accidentally blow something up.
{Rant: Also, I don’t care what the travel guides say, Switzerland does have different plugs than the rest of continental Europe, and the ones that work elsewhere don’t fit Swiss outlets. Fortunately the Swiss are used to this and sell adapters pretty much everywhere.}
In short: do your research so that when you get to where you’re going, you can focus on doing your research.
Archive Access
Spend some time looking up the various archives you want to visit and make note of what you’ll need to gain access to them. This can vary wildly, and it’s not always easy to gather everything at the last minute, or from a remote location.
It’s pretty common that you’ll need to produce photo ID when first registering at a new archival location. Within the US, for example, my driver’s license is usually enough. Internationally, however, the most useful and widely accepted ID is going to be your passport, not your home country driving license–although the latter is particularly useful (in addition to your passport) if you need to produce some sort of official documentation with your home address. Your university ID may also be needed to verify your institutional affiliation.
In addition to the type of ID you’ll need, pay attention to the number of forms of identification you’ll need to produce. I went to one archive that required three for some reason, which required me to go into the back of the closet and dig out that box where I keep important things that I only need to access once a decade or so.
Less common things I have been asked for include a letter of introduction. This is, essentially, a letter of verification from your home department at your university that says that you are who you say you are, that you are affiliated with them, and that you are legitimately conducting academic research toward completion of your doctoral or master’s degree. It is usually fairly critical that it be on letterhead and signed by someone who isn’t you.
It’s probably not a bad idea to write one up, have your advisor (either your dissertation advisor, or the department graduate advisor) sign it, and make a few copies before you set out on your research trip just in case (also, scan it so that you have an electronic copy that you can send by e-mail).
Pay close attention to when new users can register and where to go–registration hours for new researchers may be different than normal archival access hours; in my experience you’ll probably want to get there when they open.

Let Your Fingers Do the Walking
If you’re a young’un, you probably don’t recognize this subheading as AT&T’s slogan for the yellow pages, which used to be this actual physical book of phone numbers everyone had in their house before Google happened. The idea was that, instead of driving around from place to place to see if they had what you needed, you could save time by phoning from the rotary phone in your kitchen (which had a cord) to ask in advance before you left the house.
The idea is the same, even if we’re now in the era of the Internet.
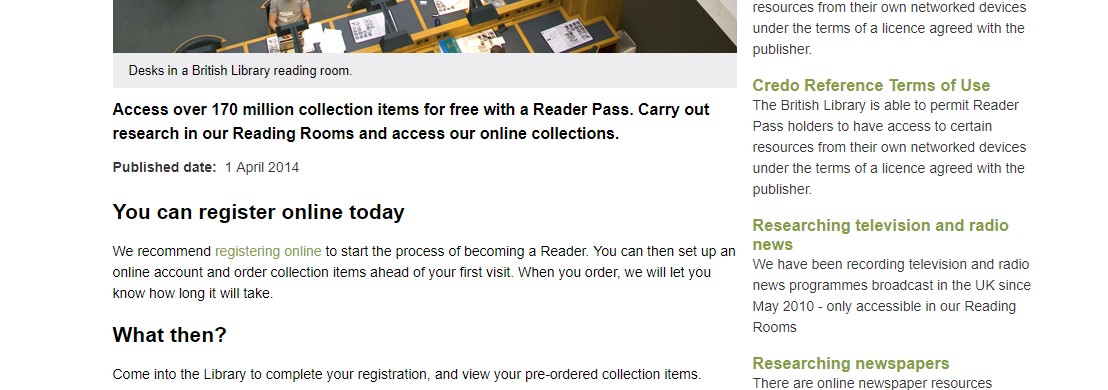
Some archives allow you to register online in advance, which will save quite a bit of time when you arrive because your information will be already filled out and in the computer system. (This doesn’t always work; I did have a glitch once that had three tech people at the British Archives scratching their heads, although it did make me feel better to know it wasn’t just me.)
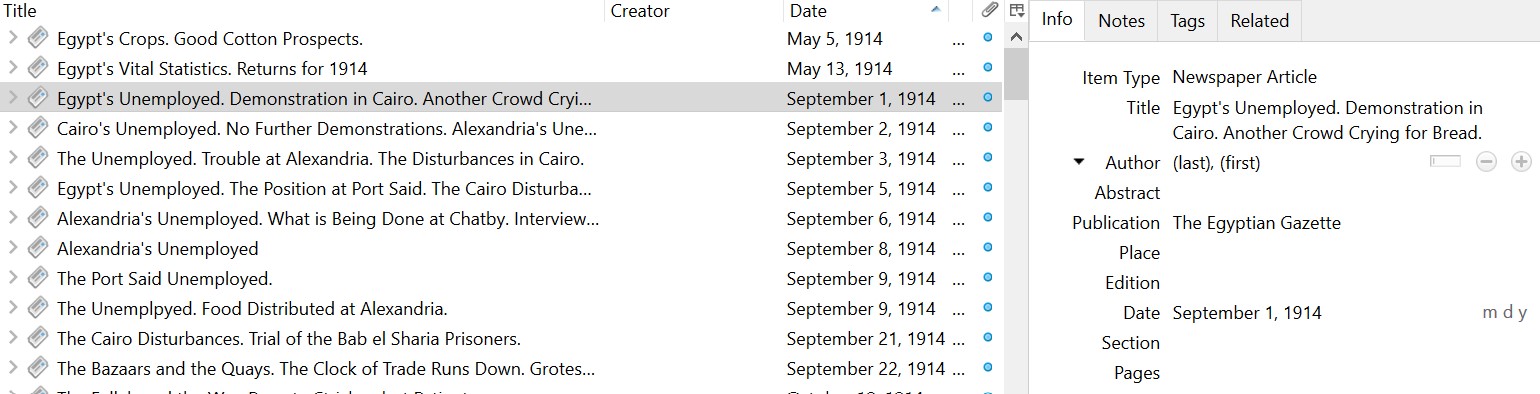
Some collections allow you to request items in advance online to have them waiting when you get there the next morning; this may not be an option for new researchers who haven’t yet arrived in person, but it’s worth checking. The British Library, for example, not only lets new users request items before they get their reader’s ticket (in American: library card)–but doing so lets you skip the part of the registration process where you describe your research interests.
Pay very close attention to the need to reserve a time slot at an archive. In my experience, archives that require reservations in advance are very strict about not allowing walk-ins.
Ideally you’ll want to have things sorted early, especially if international travel is involved, but I have contacted some archives with just a couple of days’ notice (“By any chance, might you have an opening…?”) when, for example, I found a file folder in one collection in London described the activities of an organization that seemed relevant to my research–and a quick online search revealed that the organization had its own archival holdings in another collection close by. (This is why having extra sets of documentation helps – you may think you’ve got a set list of everywhere you want to do research, but sometimes discoveries happen!)
Another reason to be in touch early (even if it’s optional), especially if an archive doesn’t have its holdings fully cataloged online, is to describe your project and determine whether there is useful material in the collection. Archivists often know their collections fairly well and this can help you decide how to allot the time you have.
I had one archive tell me point blank that they had nothing useful for me — disappointing, but far less disappointing that it would have been had I spend time and money going out there to get the same answer. Another archive, it turned out, had the files I was asking about digitized and just sent them to me electronically (the World Health Organization in Geneva).
The UN archives in Geneva, especially for the League of Nations period, doesn’t have the most useful online catalog; the archivists there are superb and pointed me in all sorts of directions I never would have considered otherwise.
In short, it never hurts to let someone know you’re coming. The worst thing they’ll say is “we don’t have anything that matches that”–which, while disappointing, is still useful information. If they do, they’ll almost certainly help you gain access if they can.
How Long?
Now. You may have noticed that the one thing I haven’t discussed is this: how long you’ll need to spend in a particular place or at a given archive. And, in short, this is because I can’t answer this question for you.
I would suggest that if you can, you take a few days and visit a collection to do exploratory research–my home department gave small sums of money for this, and I spent a week in London digging around.
The consideration of time is not just about how long it’ll take you to work with a file; it’s also about how long it takes files to be brought out to you, how long you’re able to work with them, whether the reading room closes for lunch, high tea, or something else, etc.
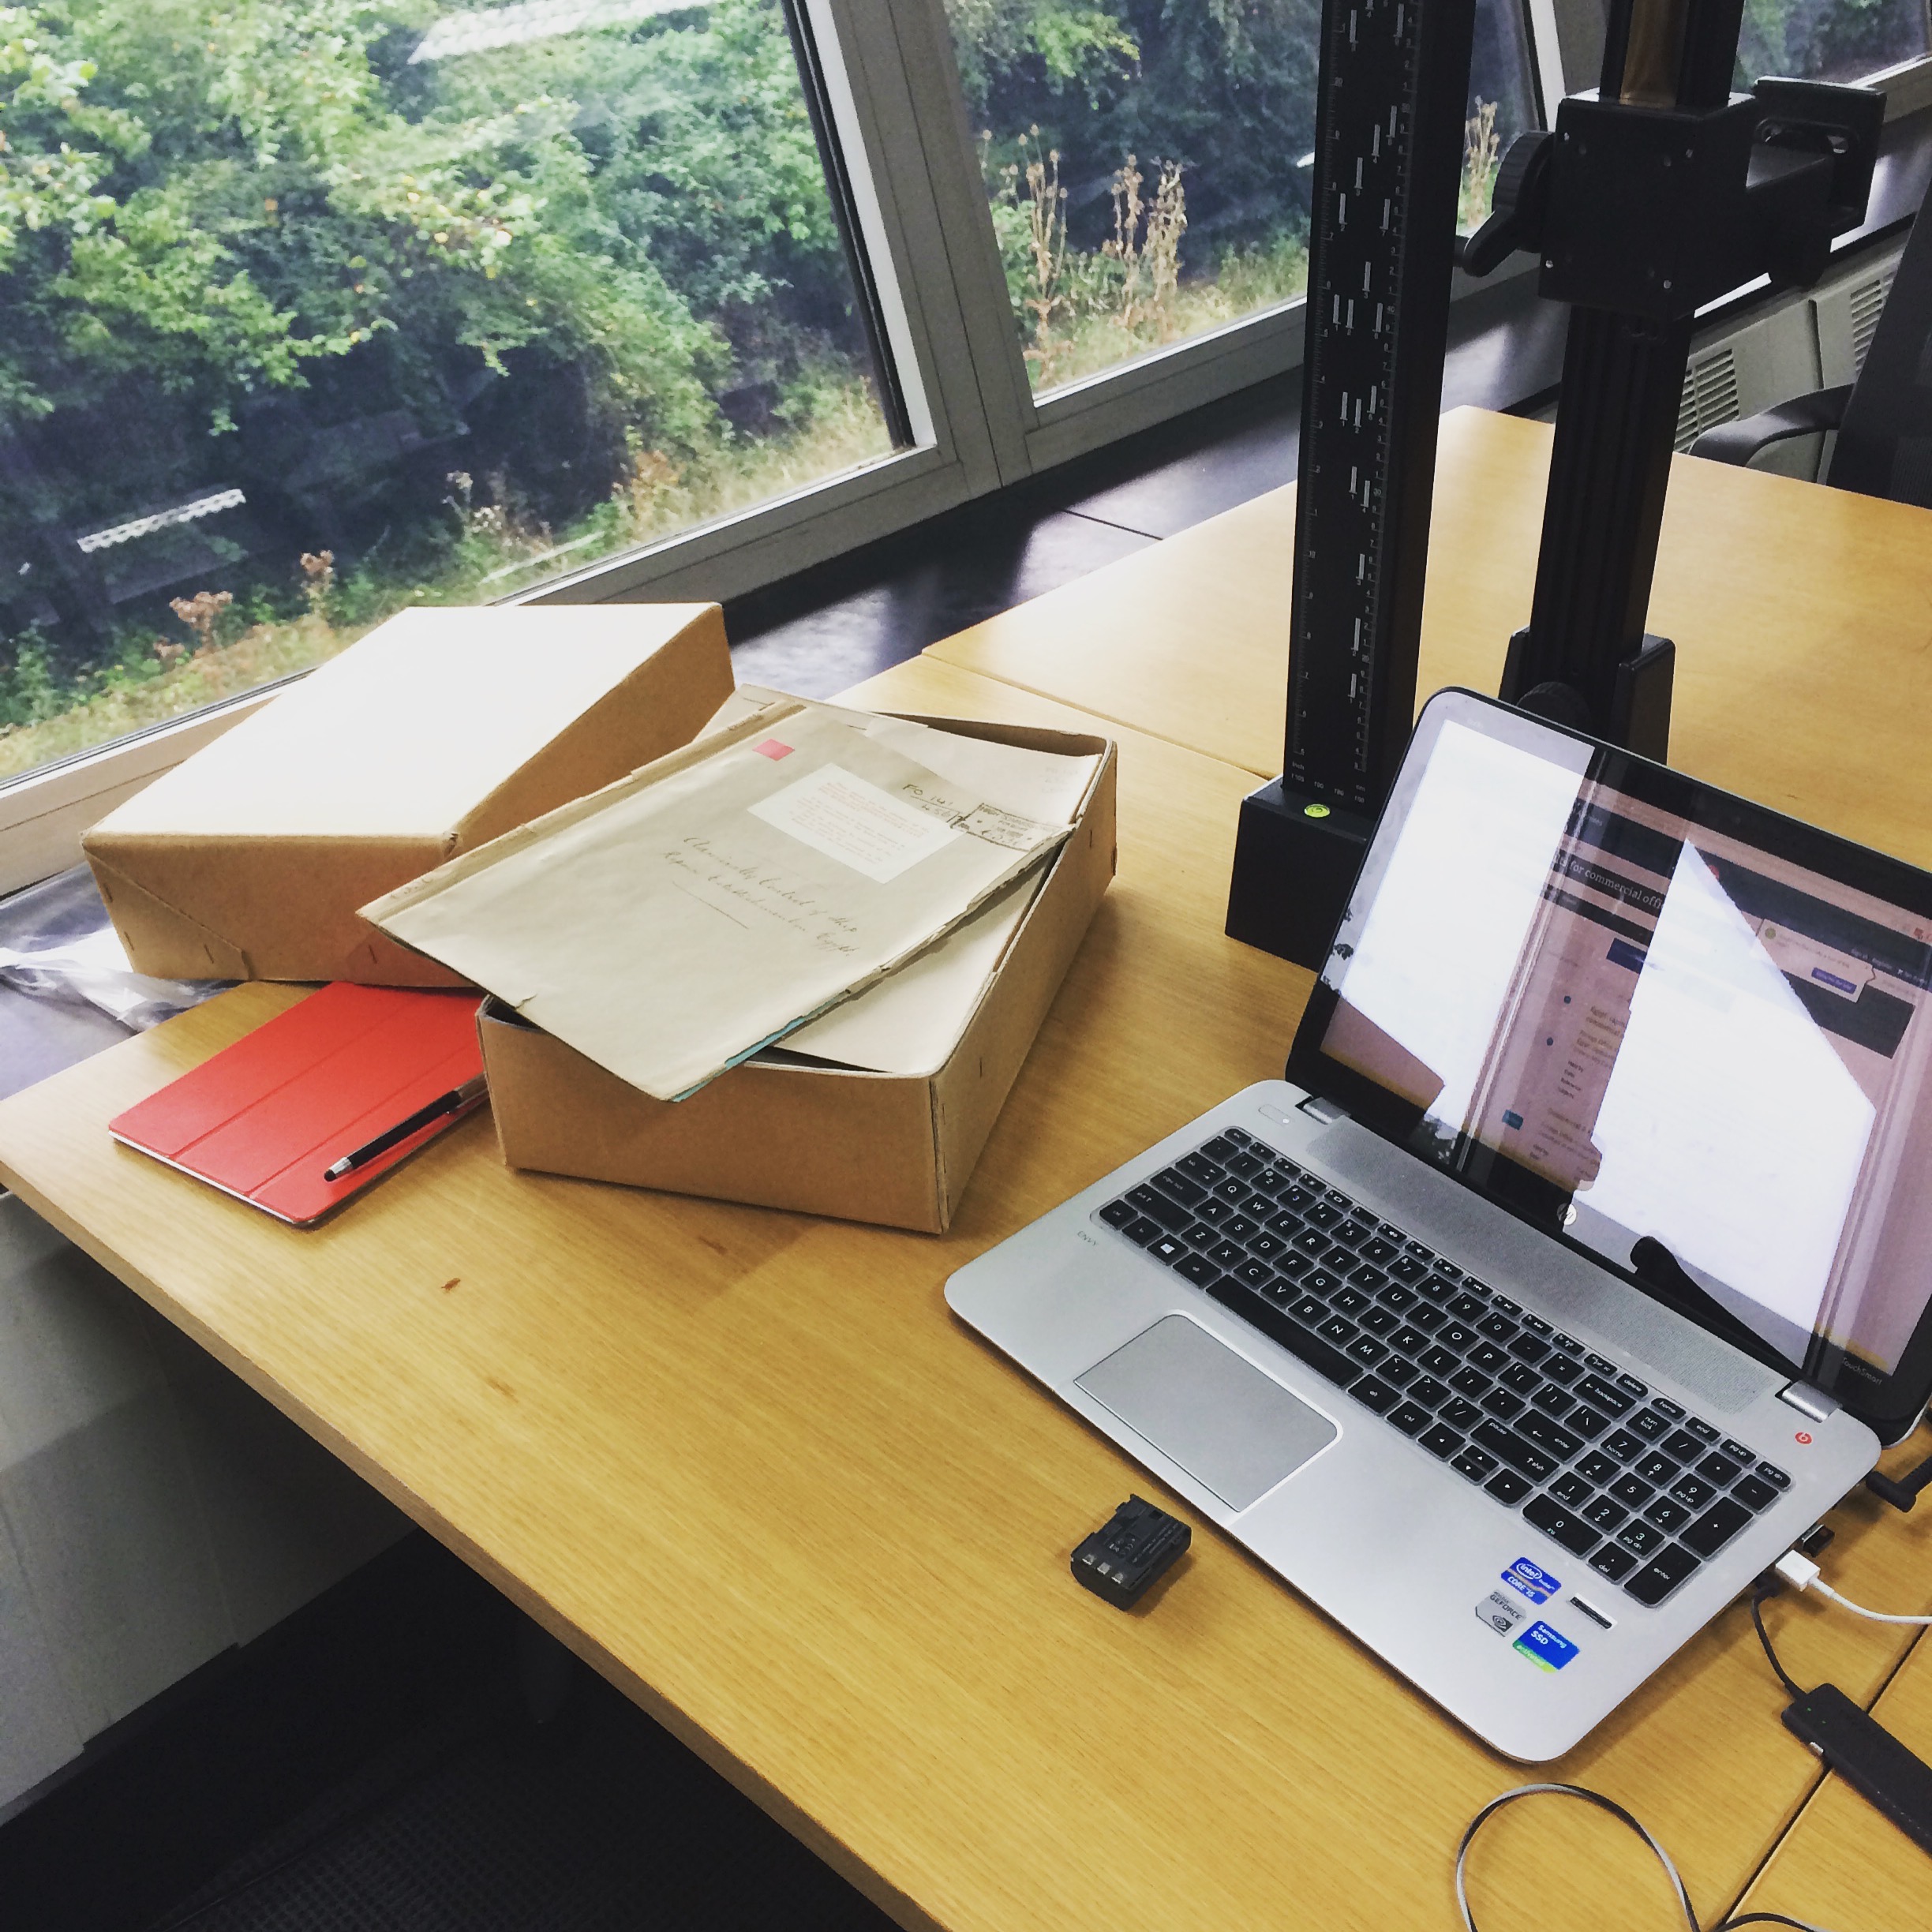
If you can bring a laptop or camera into the archive room, the process will go faster. If you have to transcribe everything on a pencil and pad, it’ll go slower. (Also pay attention to whether a ban on cameras extends to cell phones–some archives don’t like cameras because of the noise, but are okay with phones).
You’re probably going to want to get a sense of all of this before you book A Big Trip. (And, at the risk of repeating myself, it’s also a reason why you want to have your workflow established before you head out — you won’t want to be spending time in the archive itself trying to figure out how to take photos in low light, or realize that you need a cable you didn’t bring).
In general, having more time than you’ll think you’ll need is better than the opposite. It gives you more time with the material, and more time to follow leads to new collections you might not have considered visiting beforehand.
What else?
Update: This post generated a couple of important questions, which I’ve addressed here: Planning a Research Year: Part Two.
I have at least two more posts in this research year section planned, but what other questions do you have? Post in the comments below!